* Upcycled wire hanger
* Upcycled bottle caps
* Y-shaped piece of a tree branch
* Yarn/string (optional)
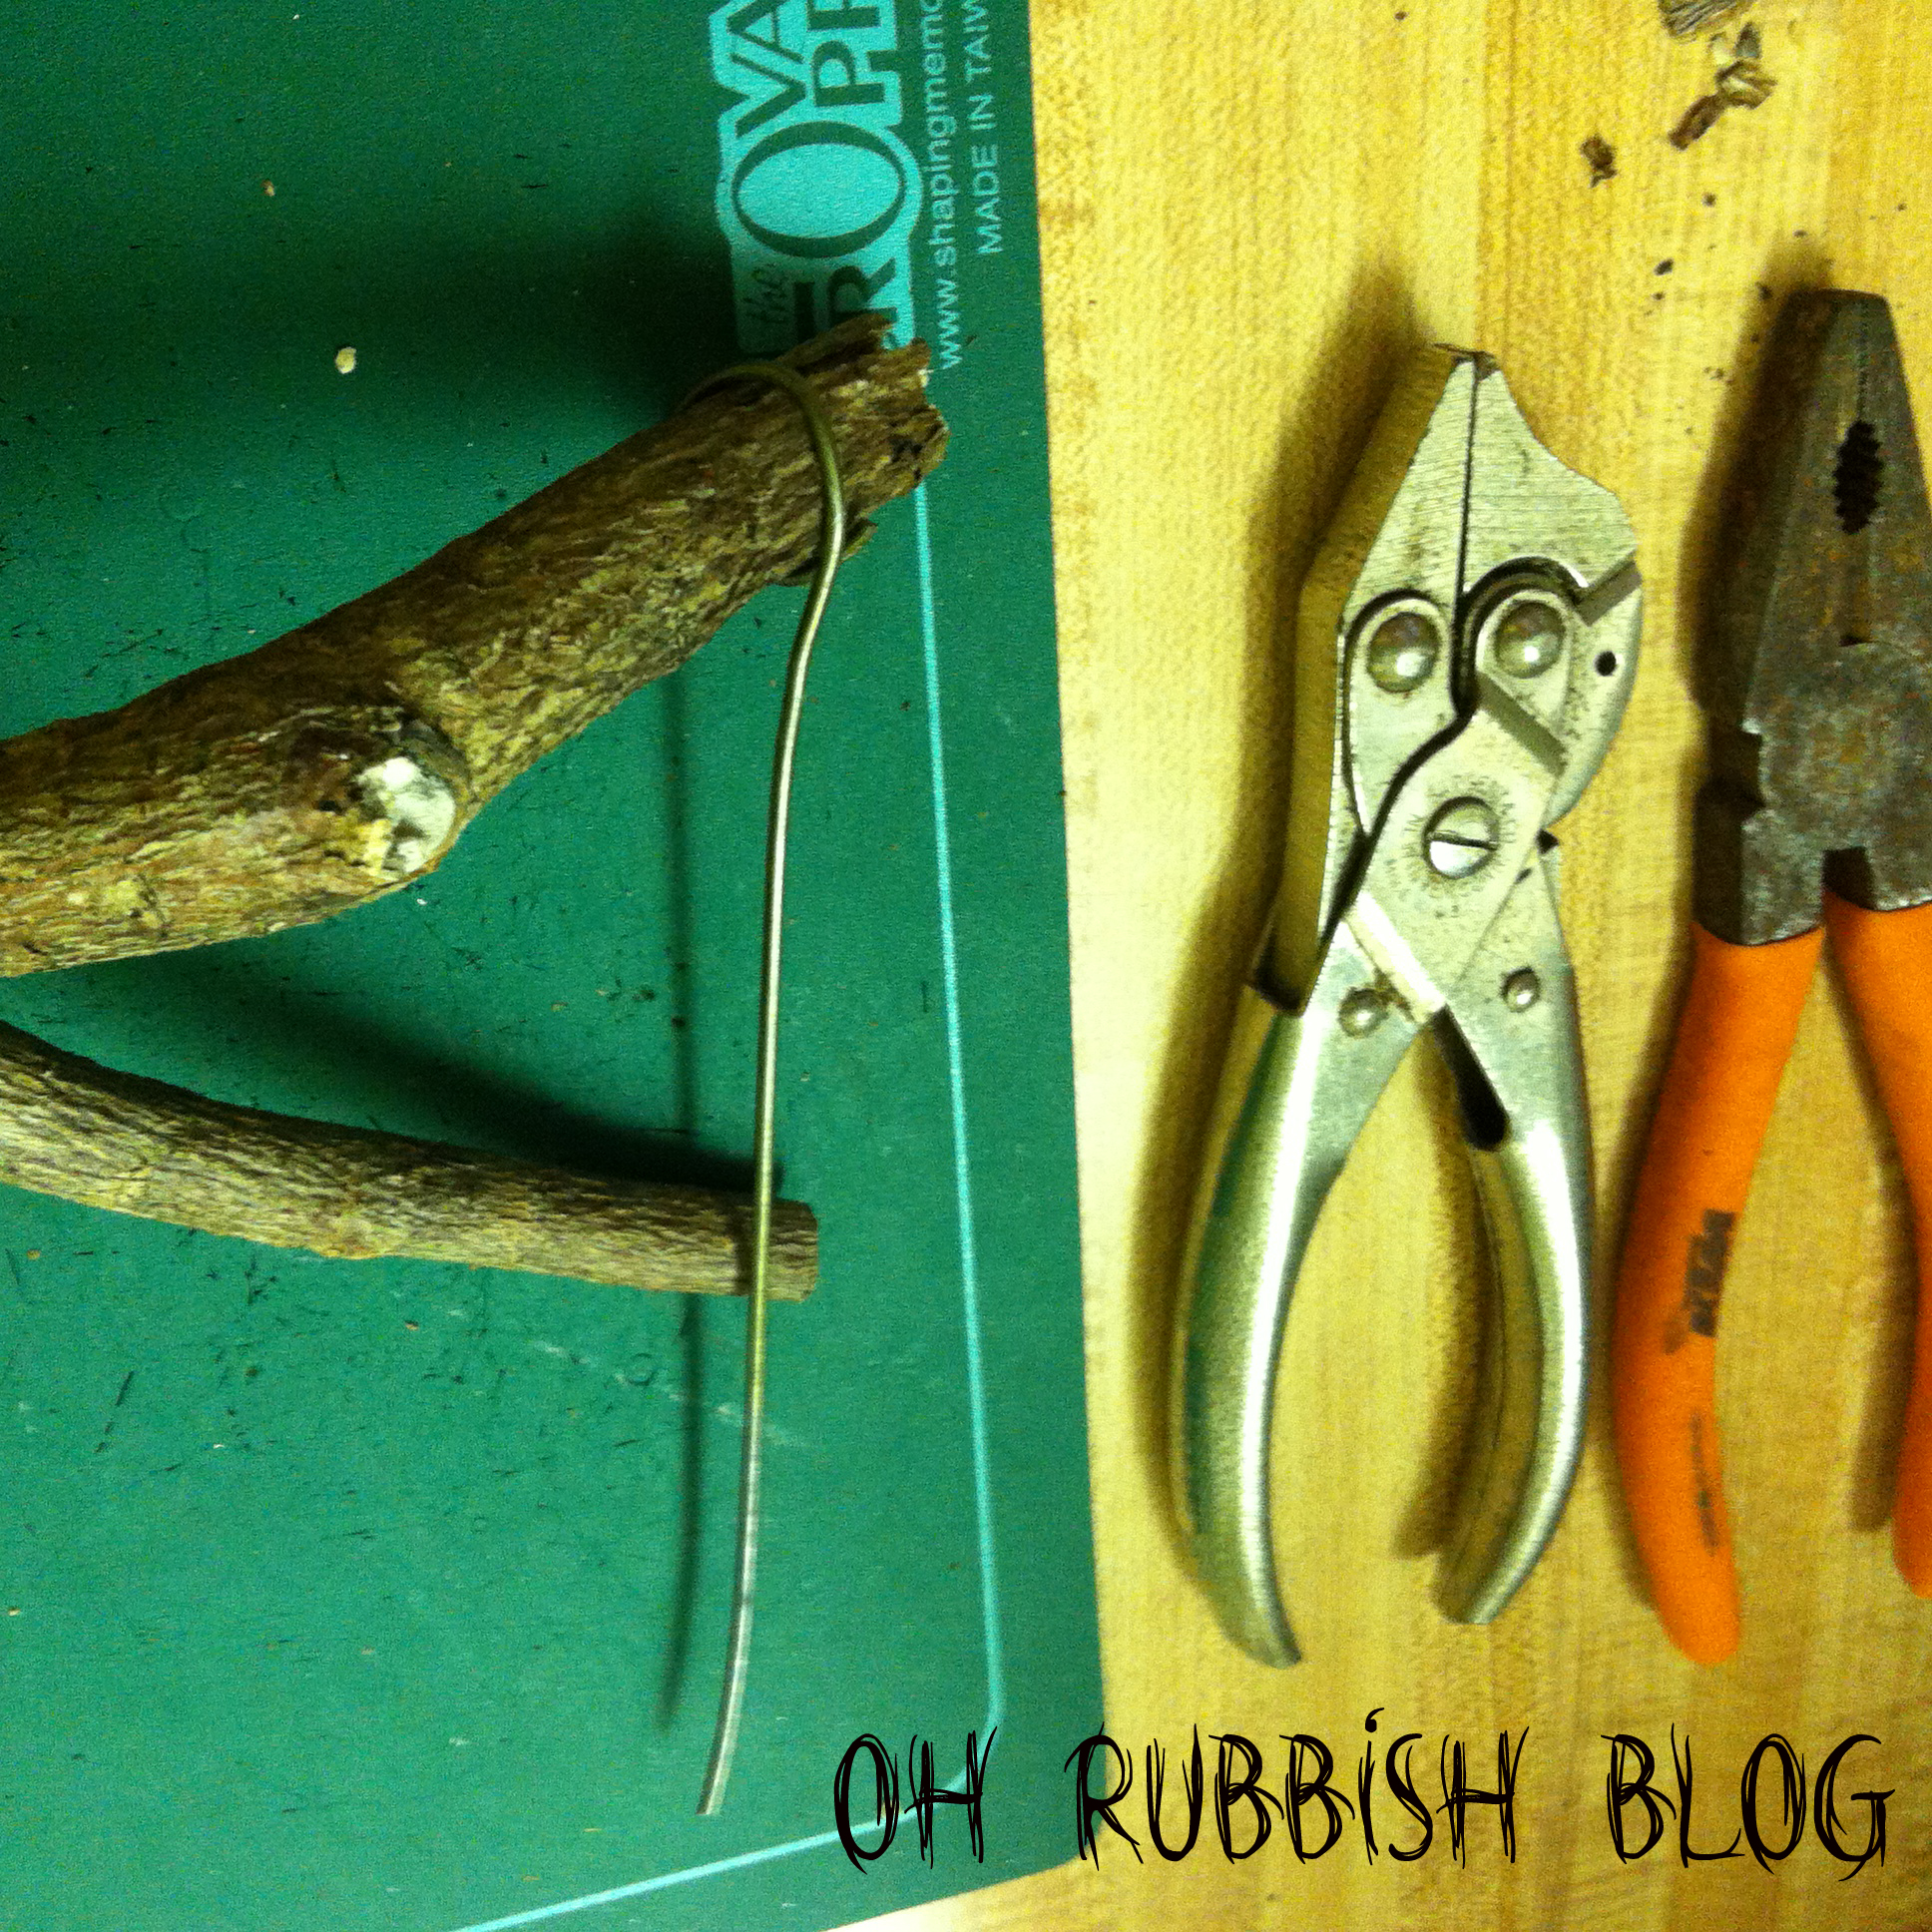
* Pliers (make sure it has side cutter tool for cutting wires)
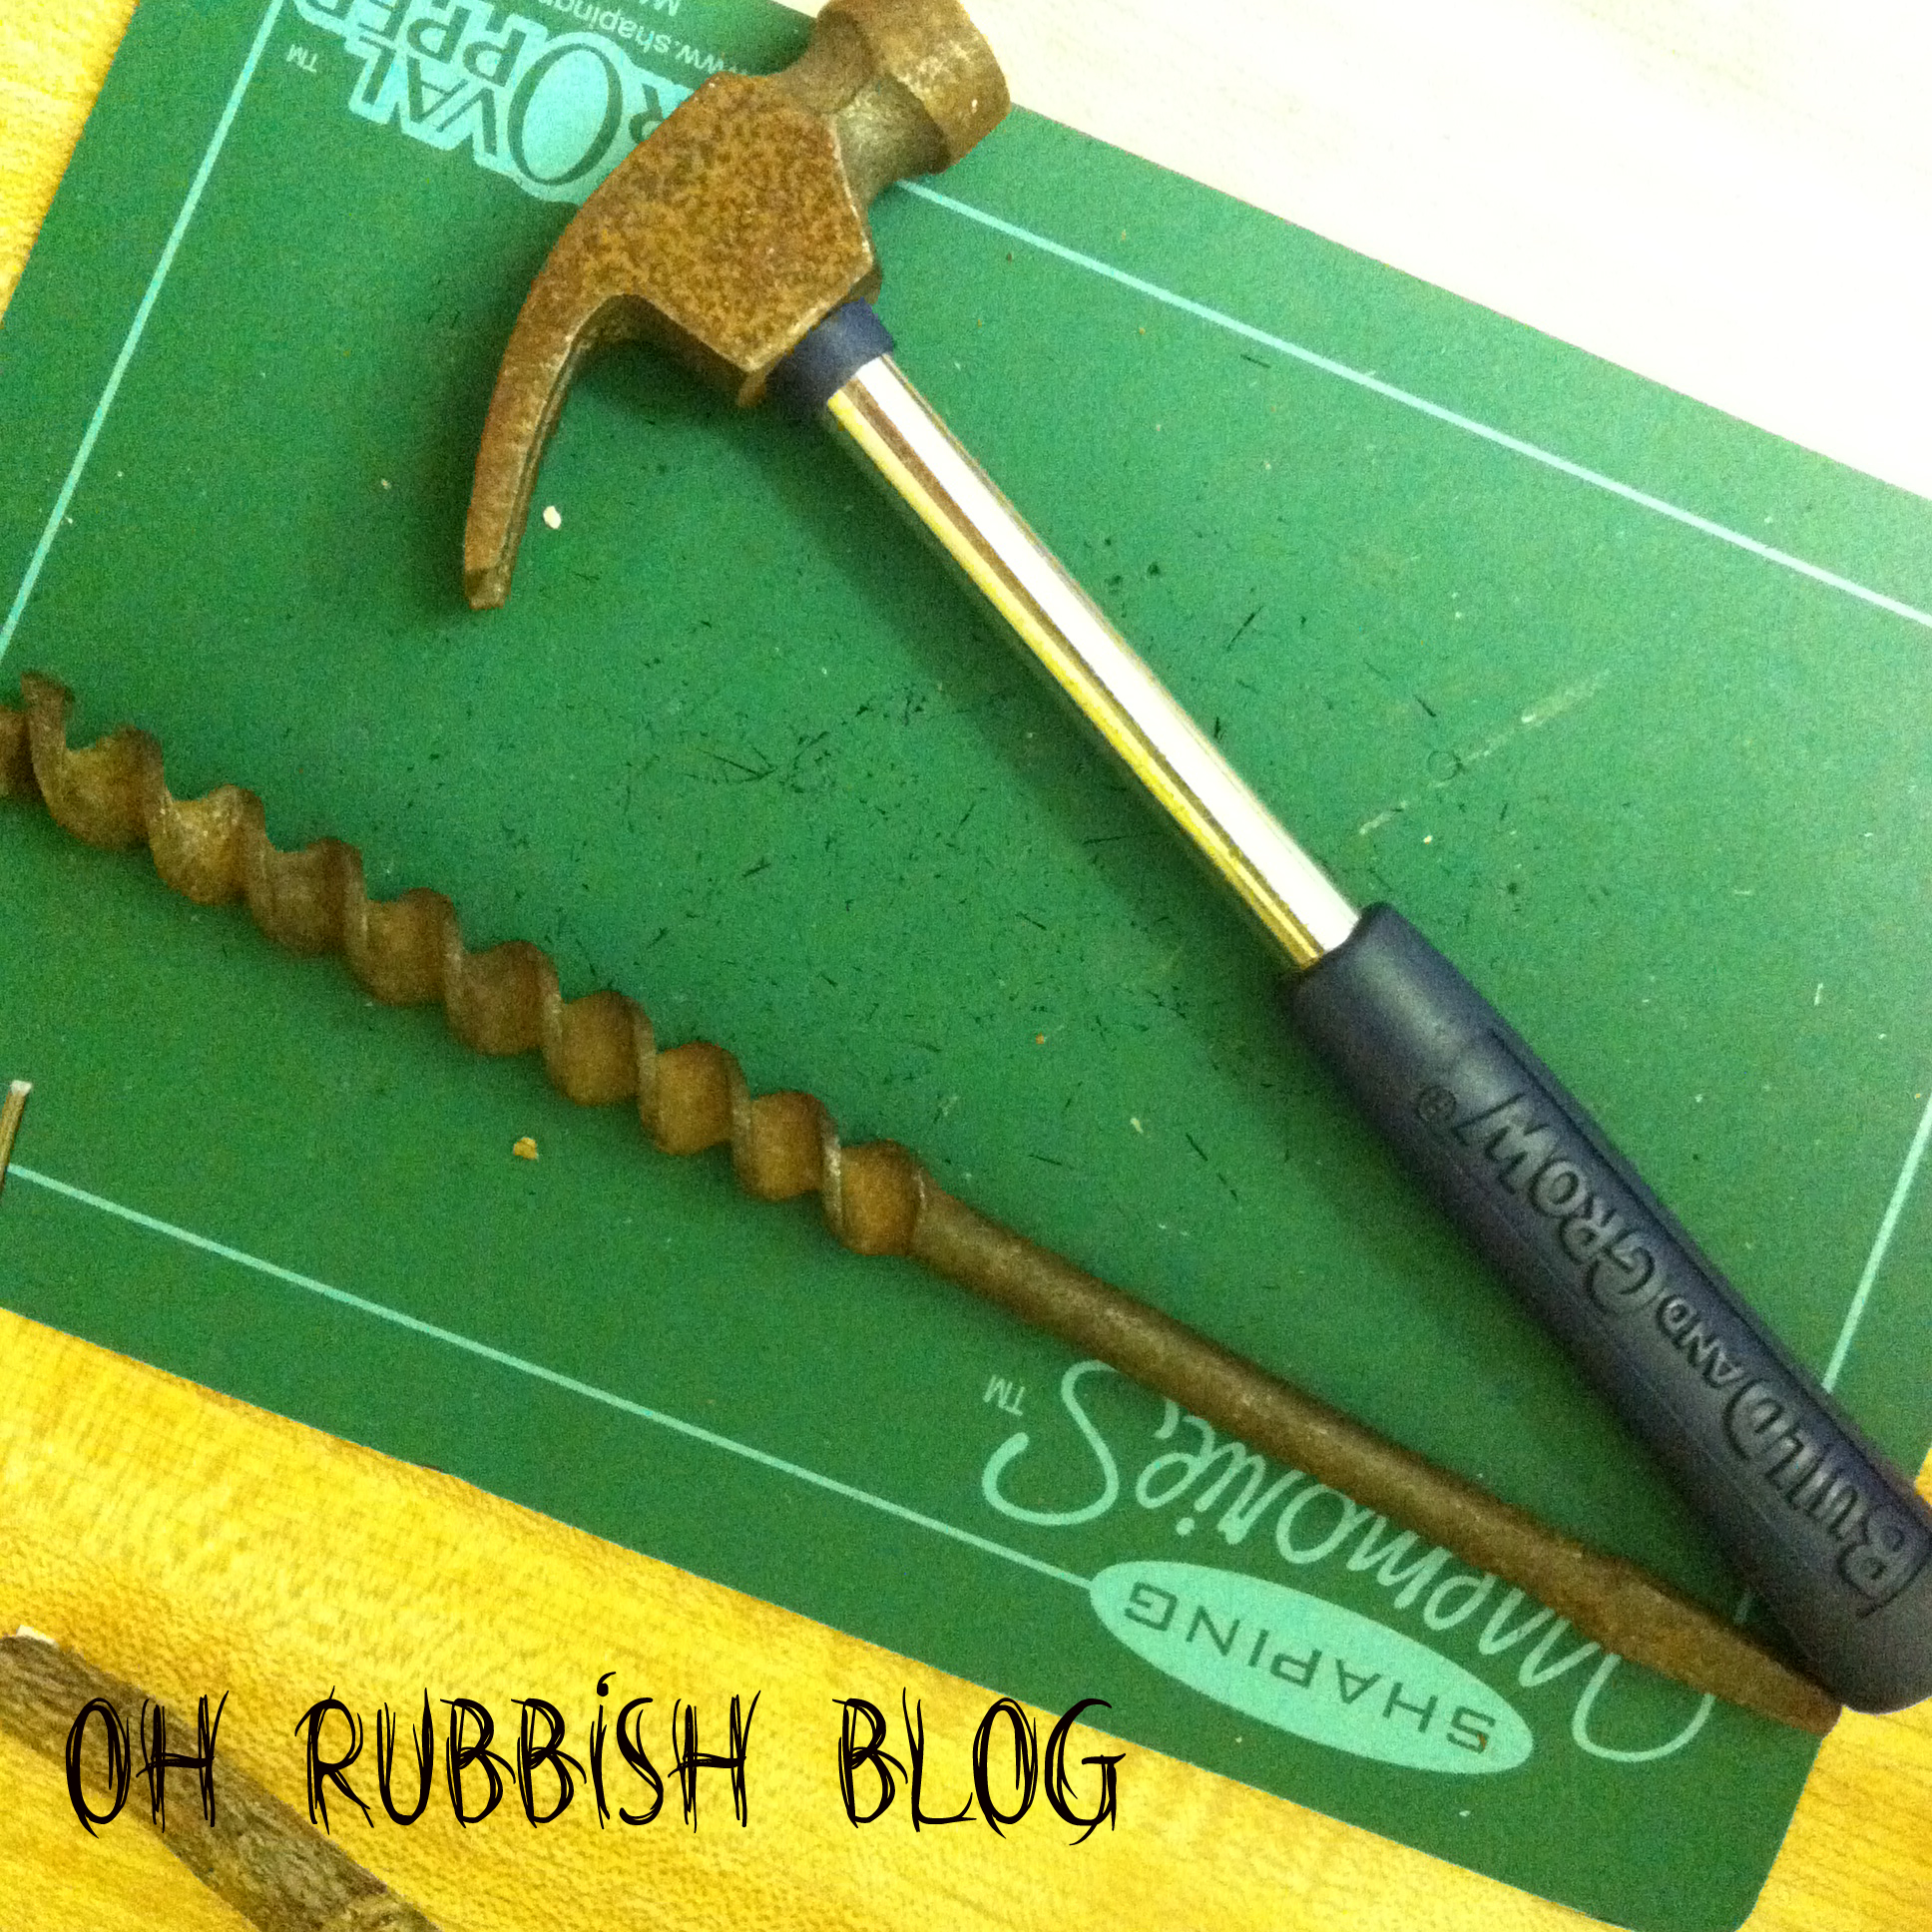
* Hammer
* Hot glue gun
* Self healing mat or padded surface
* Sharp and pointed tool that can be hammered
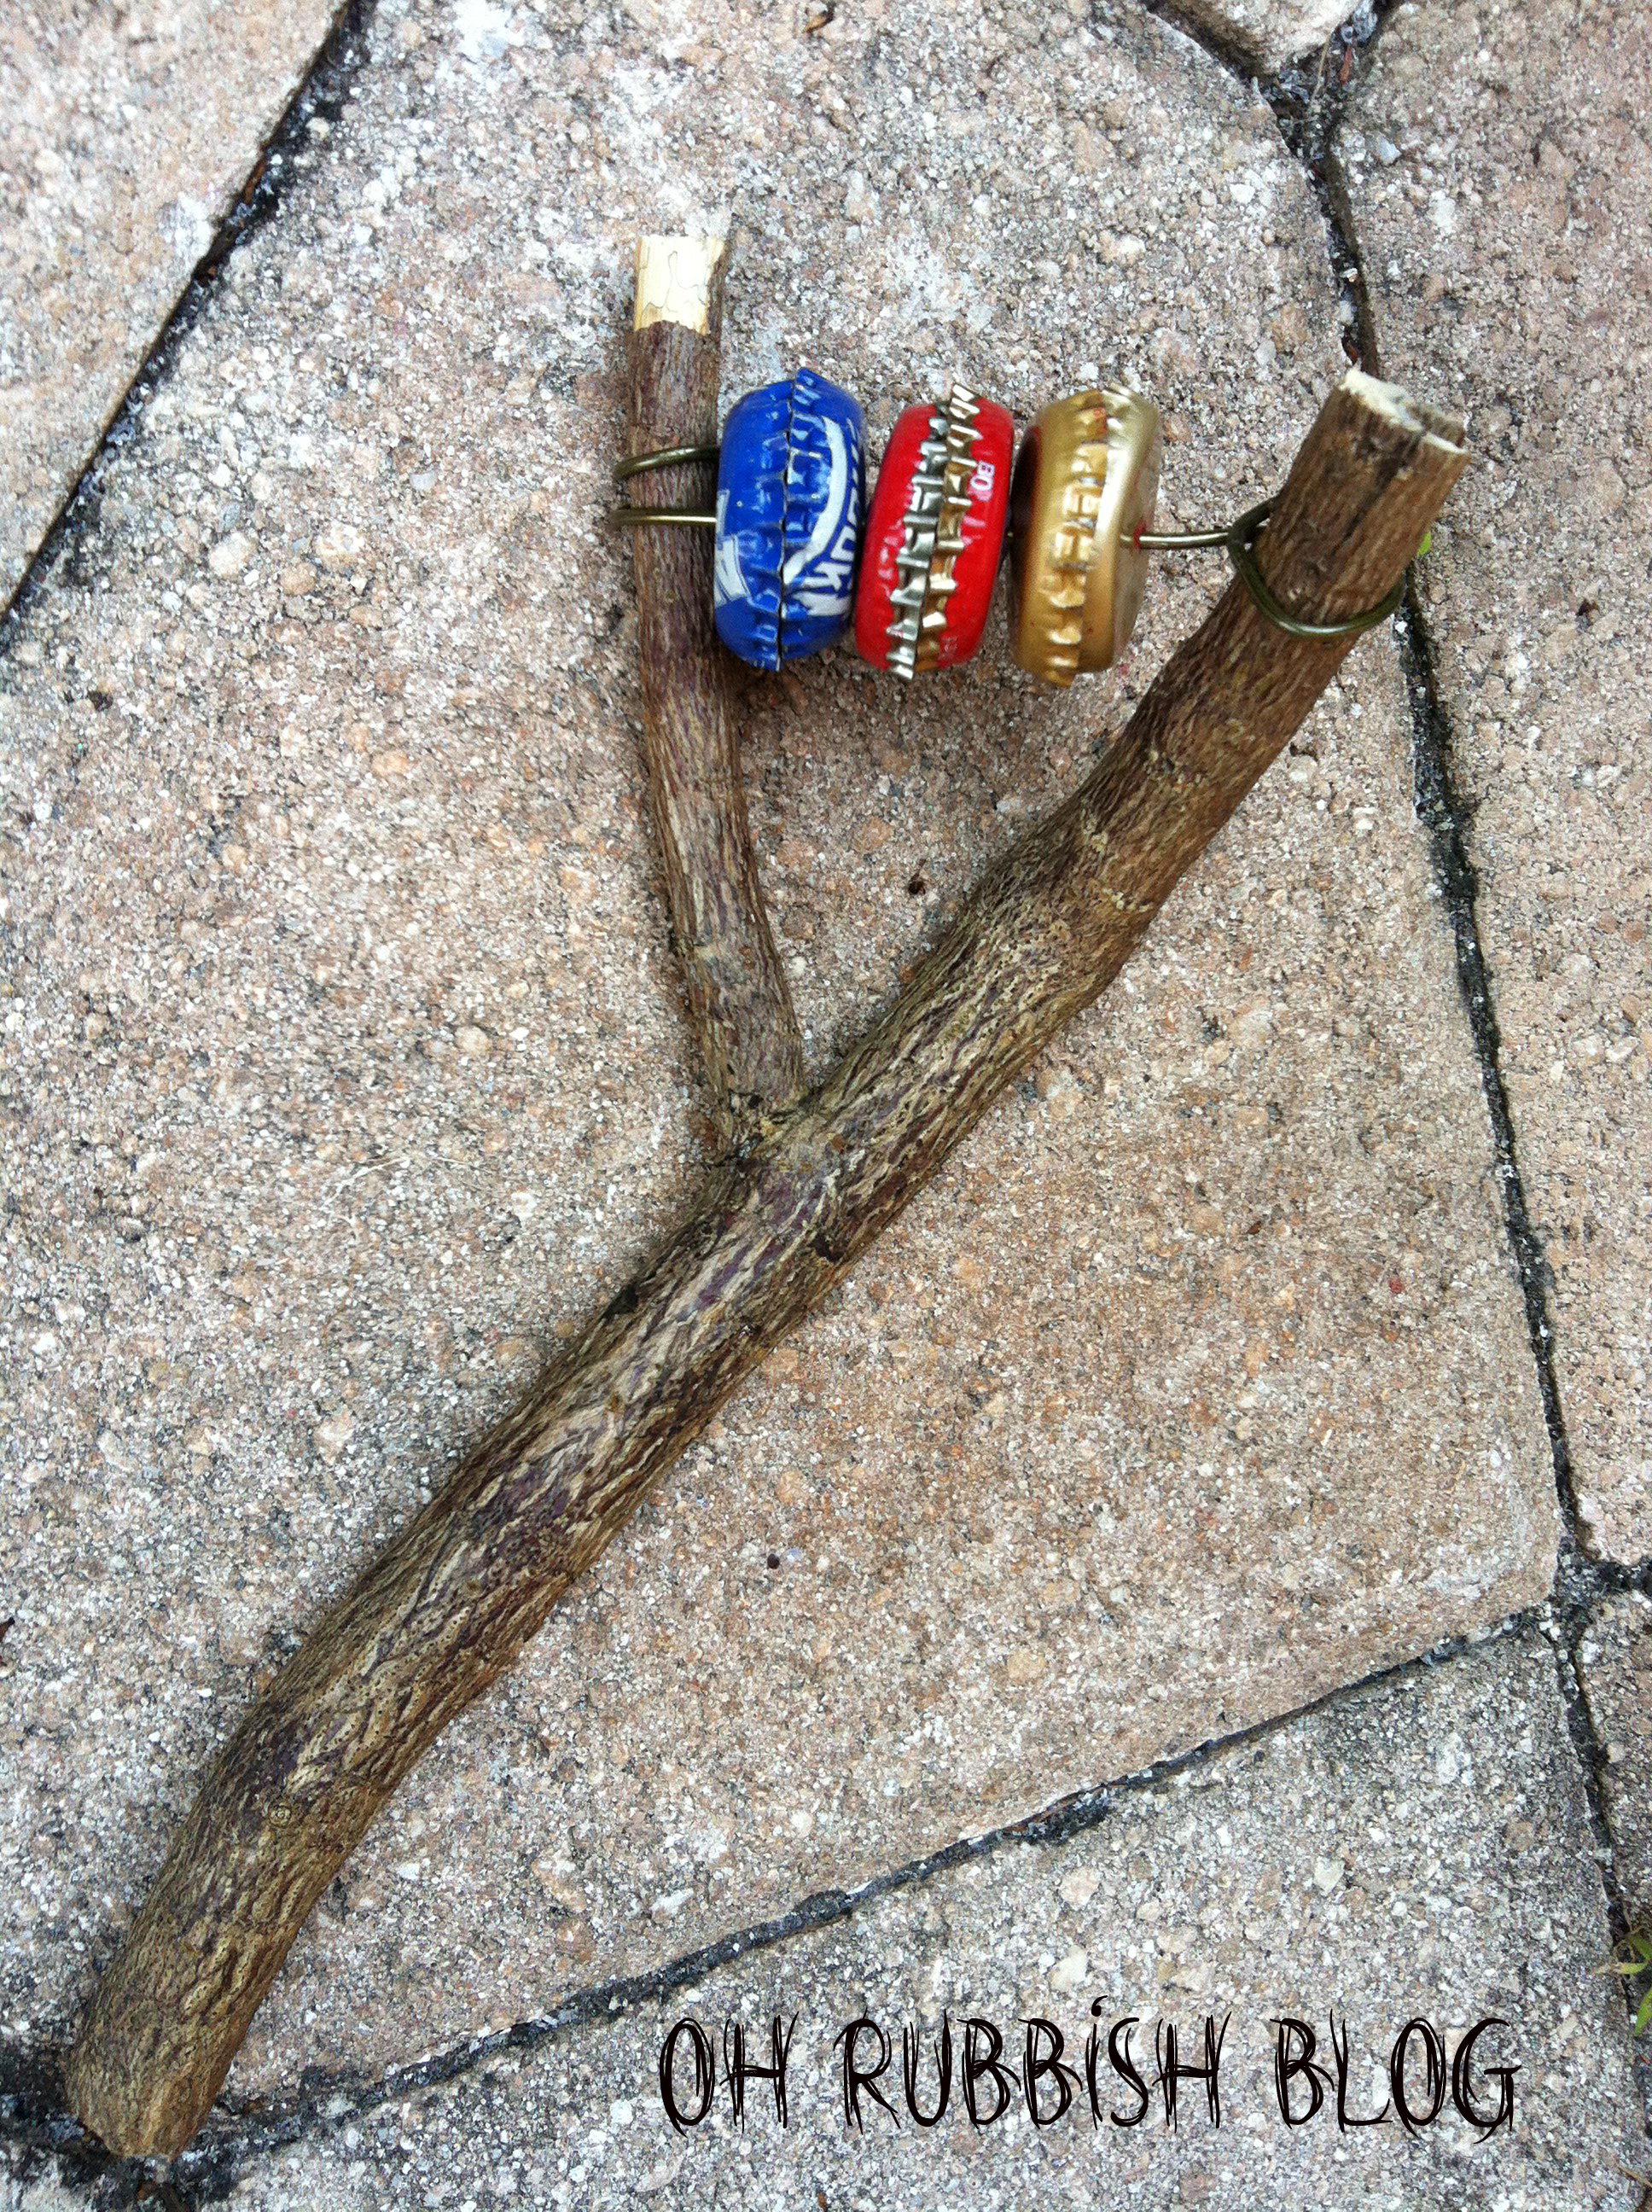
Find a Y-shaped branch from trimmings or from a nearby tree. Make sure its a nice sturdy piece! Trim as needed.
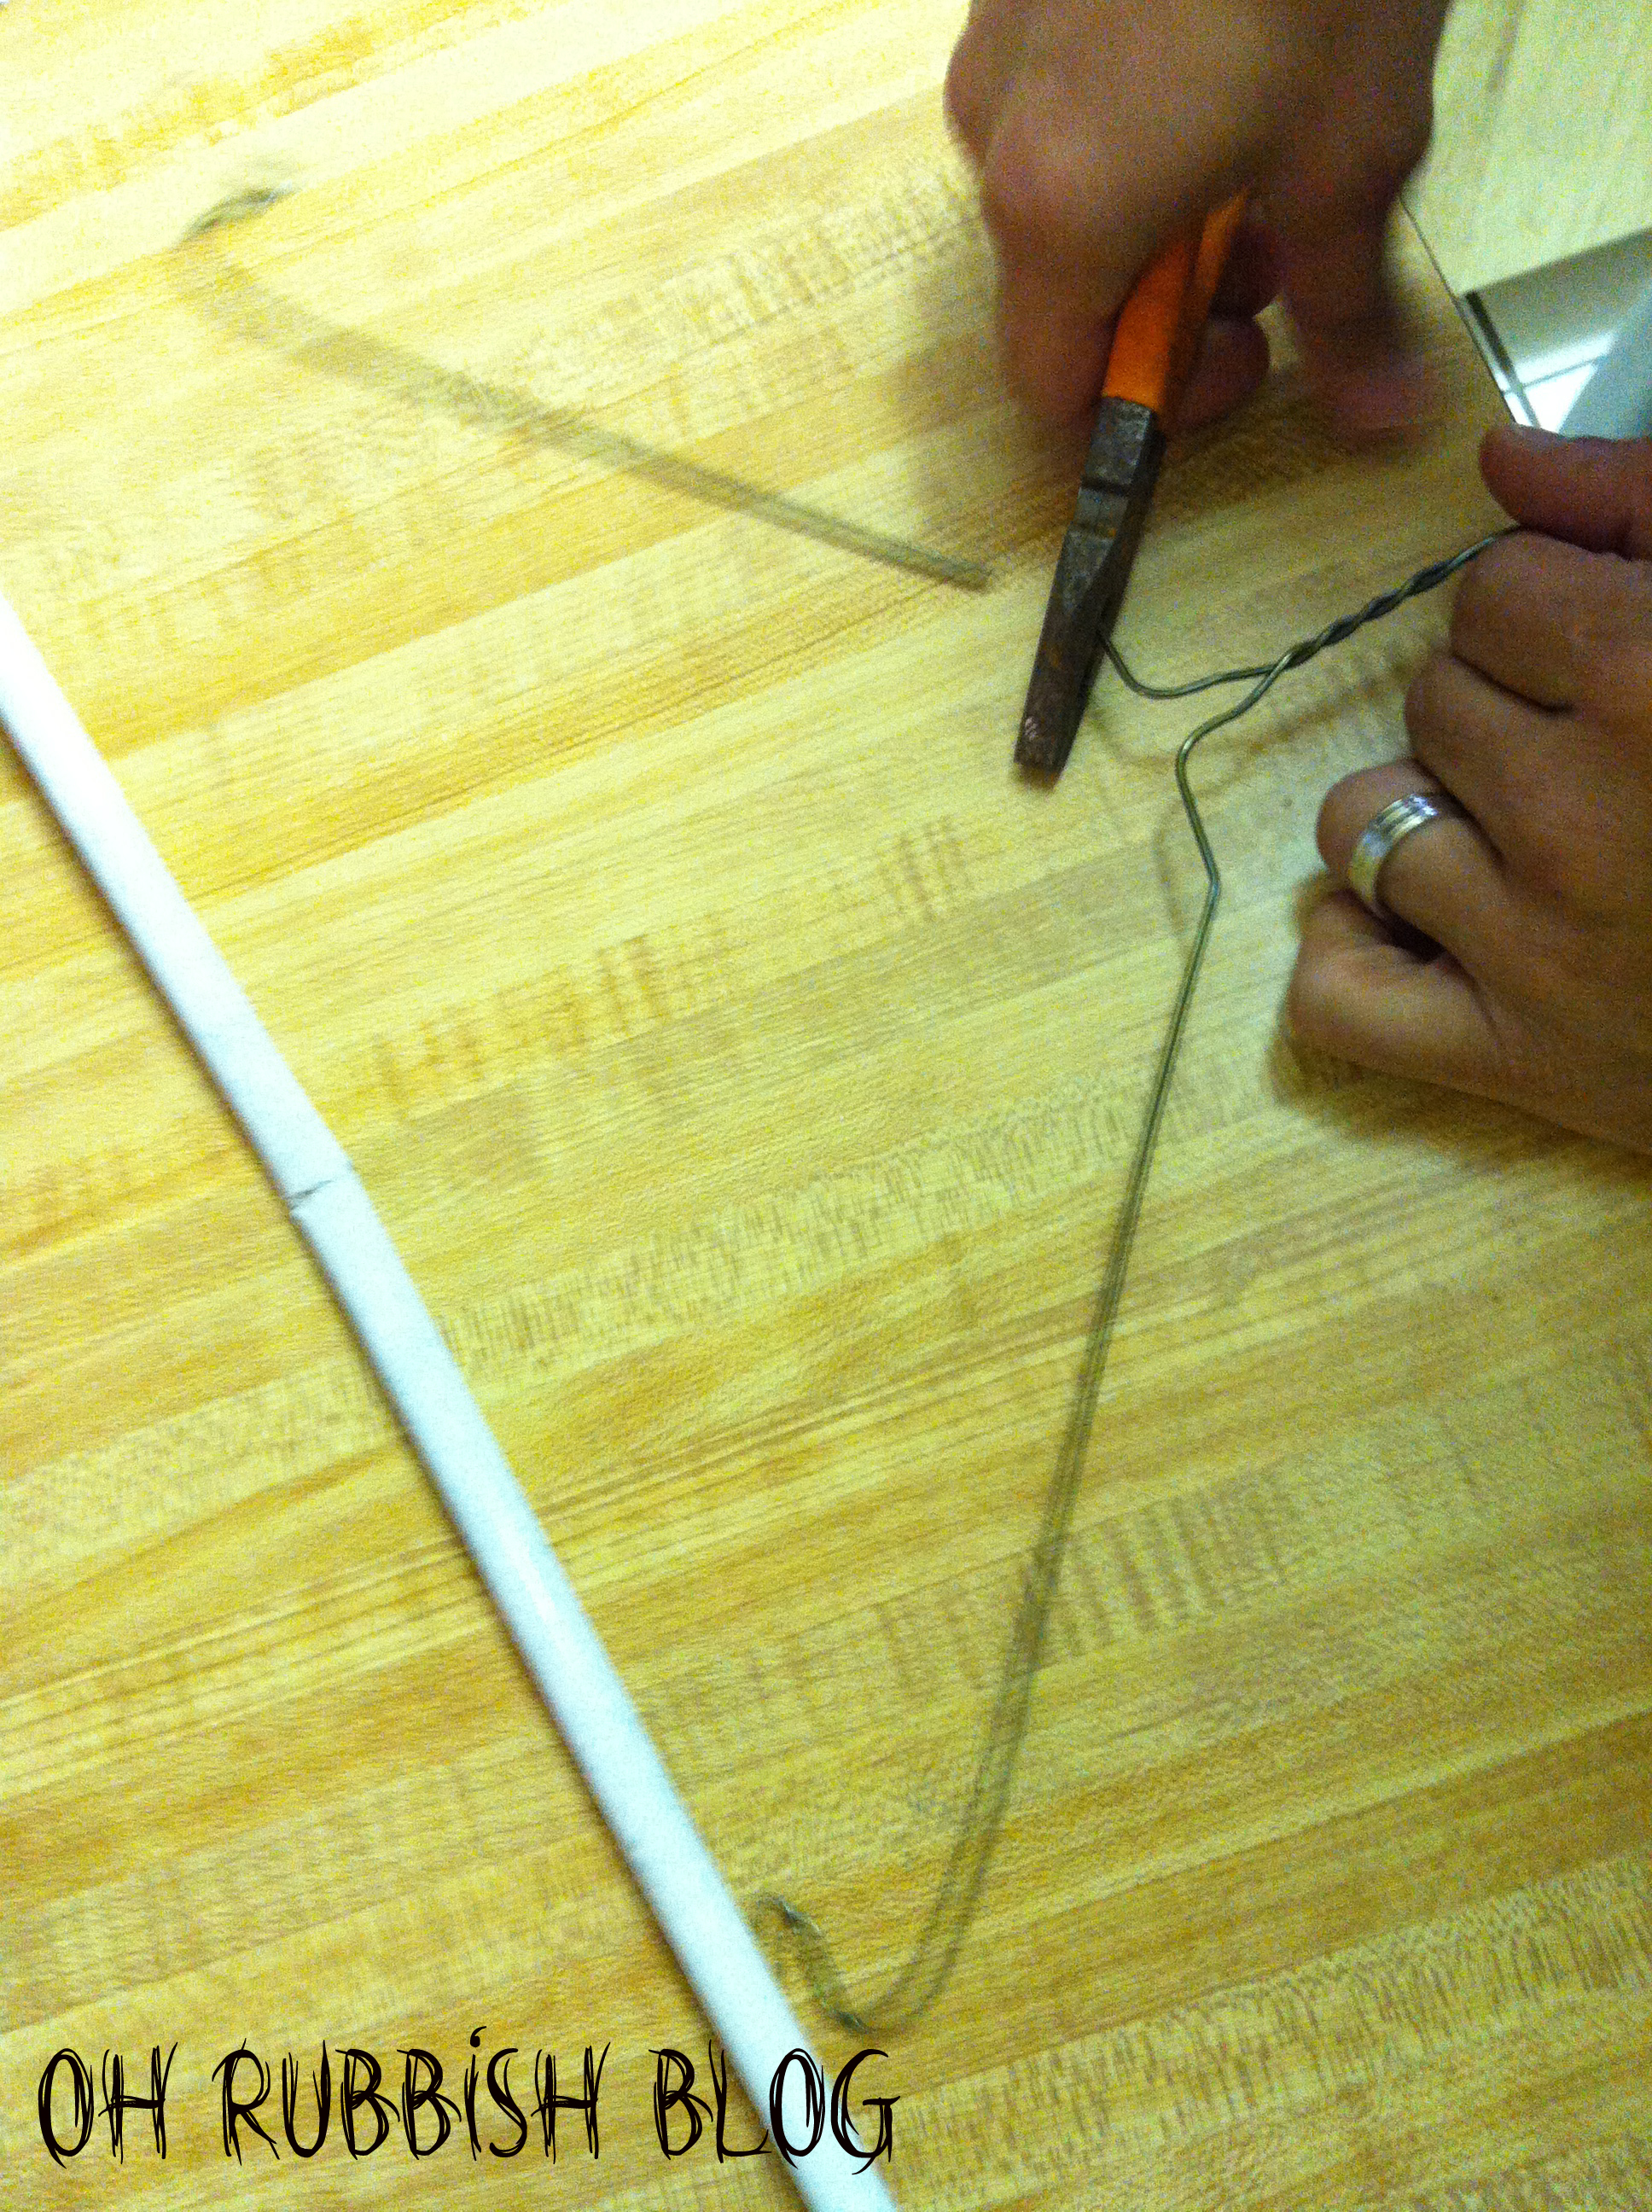
Take the cardboard section off from the wire hanger (if it has one). Using the pliers, cut off one side of the wire hanger near the top of the hanger. If your hanger doesn’t have the cardboard tube section, then cut at the bottom corner as well. You should end up with a piece like the picture below:
Using the pliers, wrap one end of the metal hanger around one side of the Y-shaped branch.
It should look like this:
:: Make Musical Instruments Kids :: Recycled Musical Instrument ::
Using a hammer and a sharp pointed tool that can be hammered (see below)…
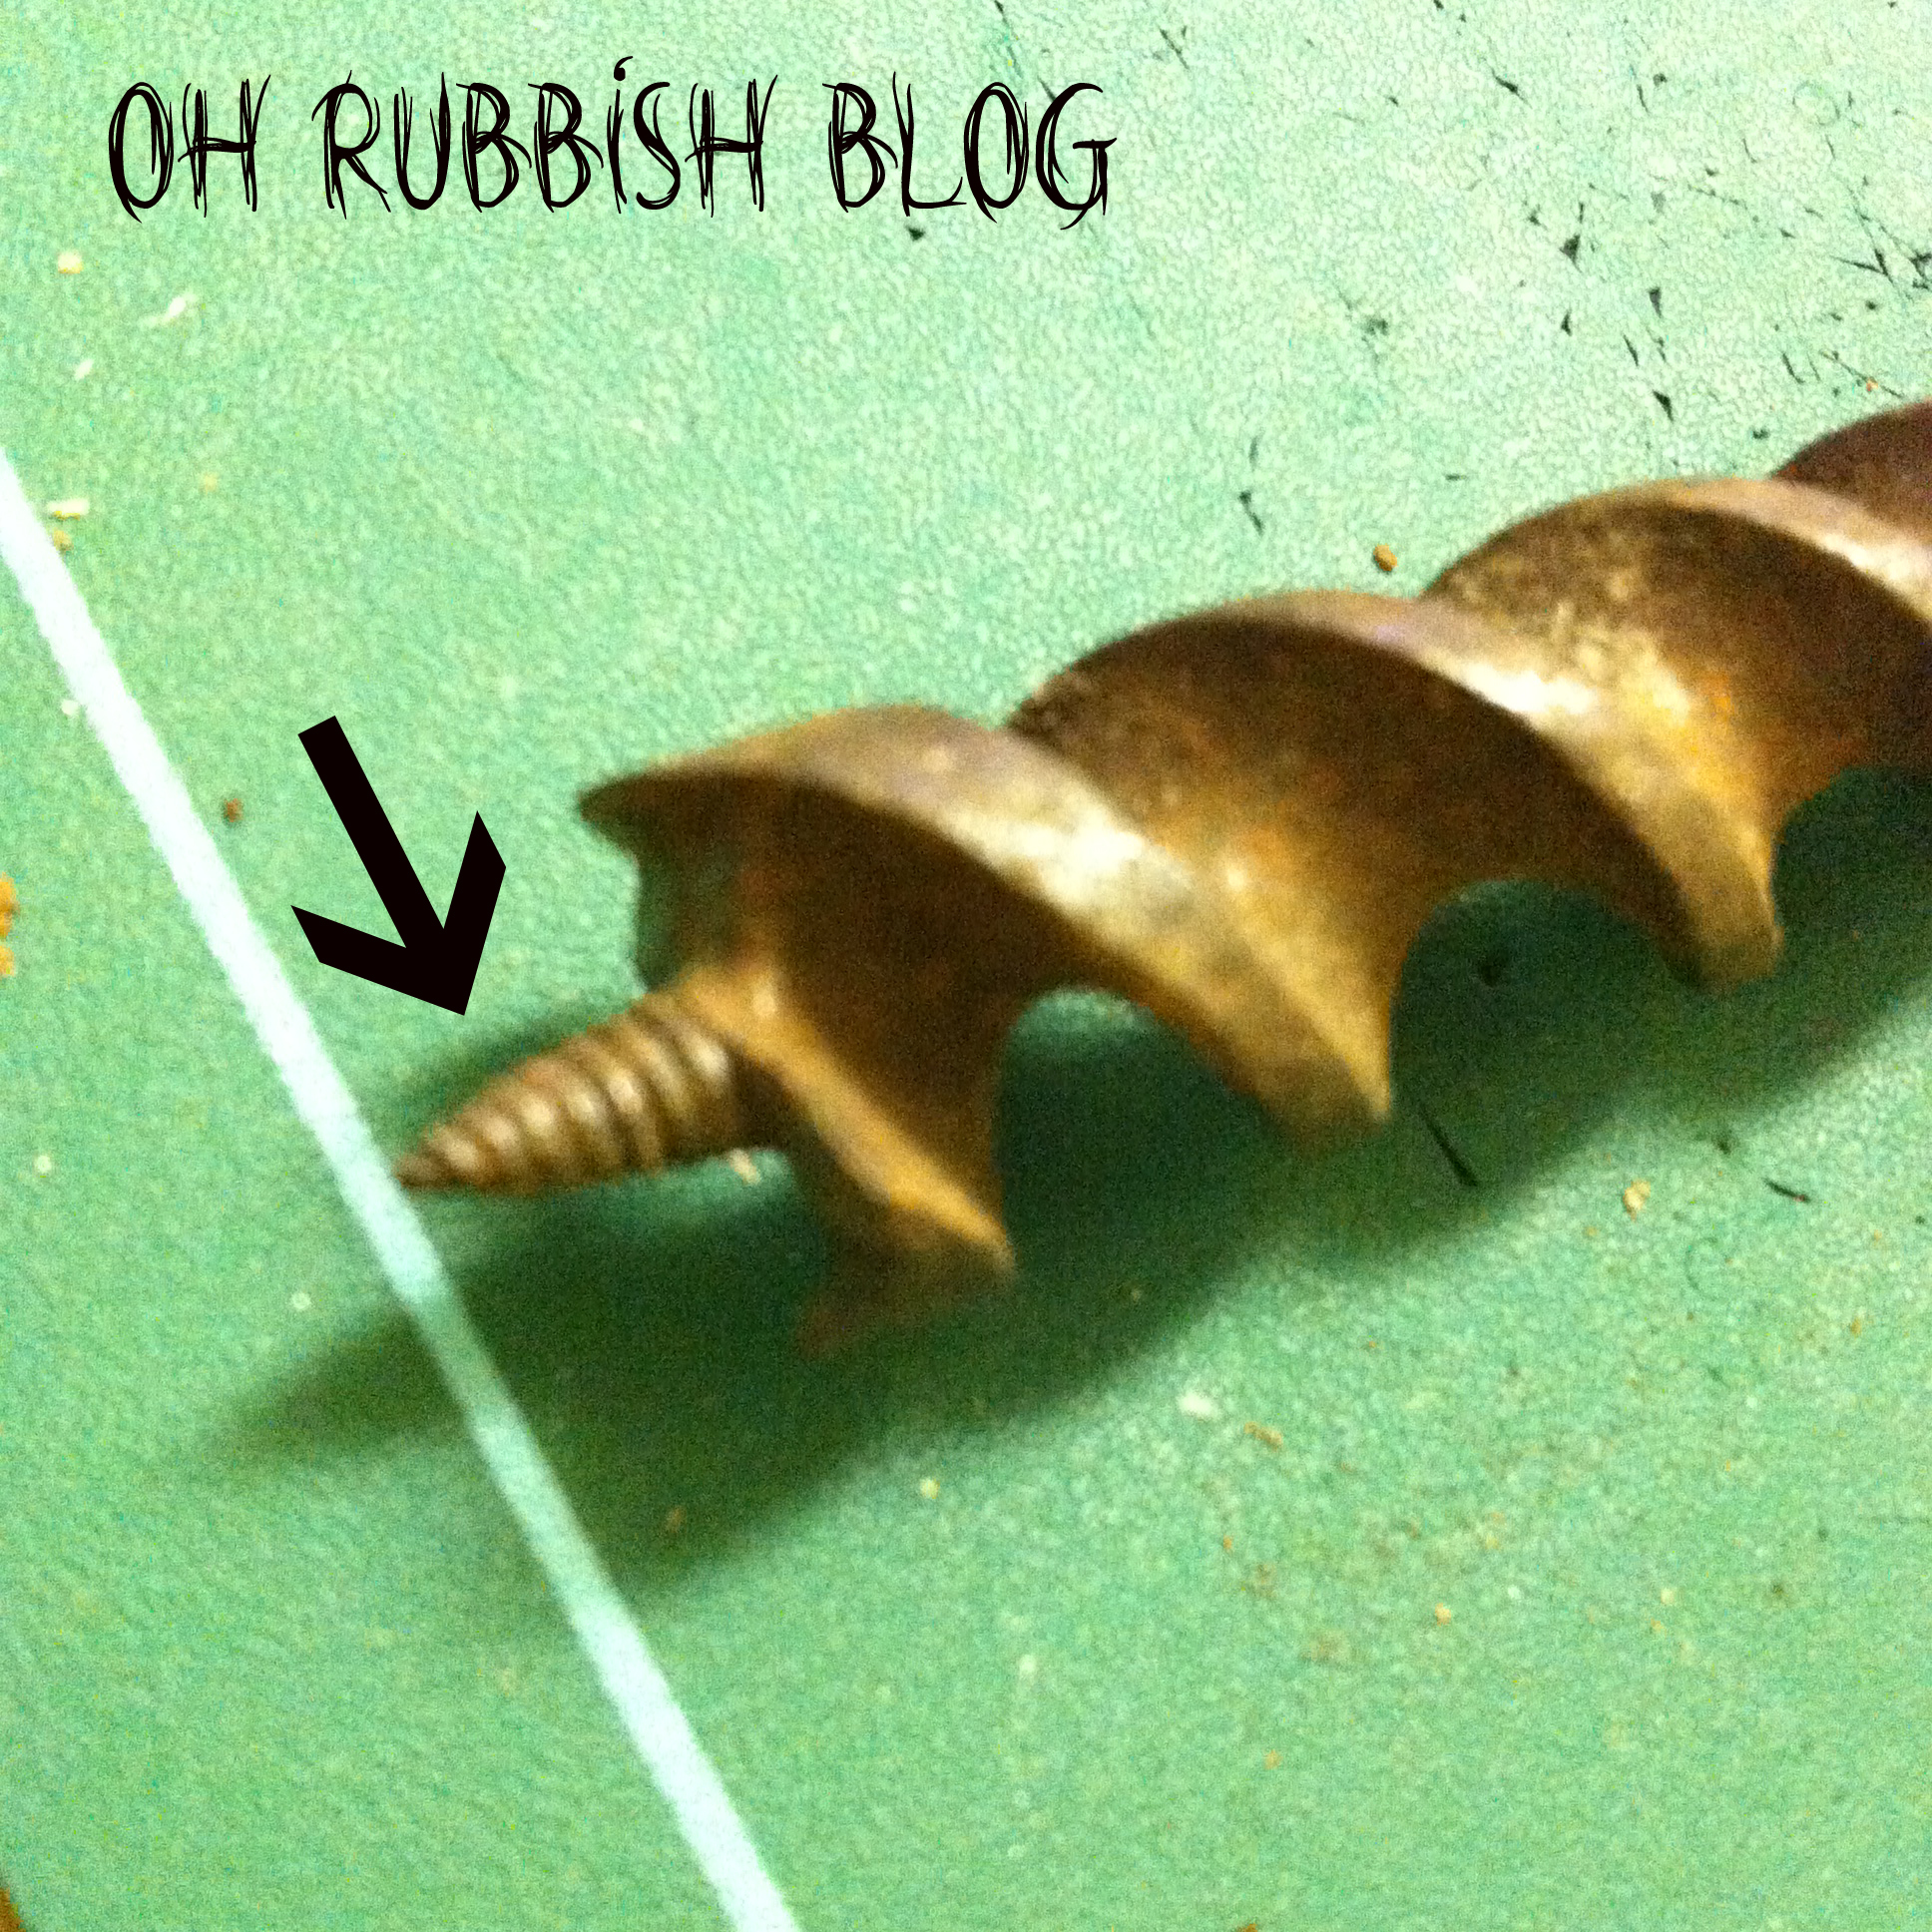
Hammer the pointed tool into the center of the top of the bottle cap.
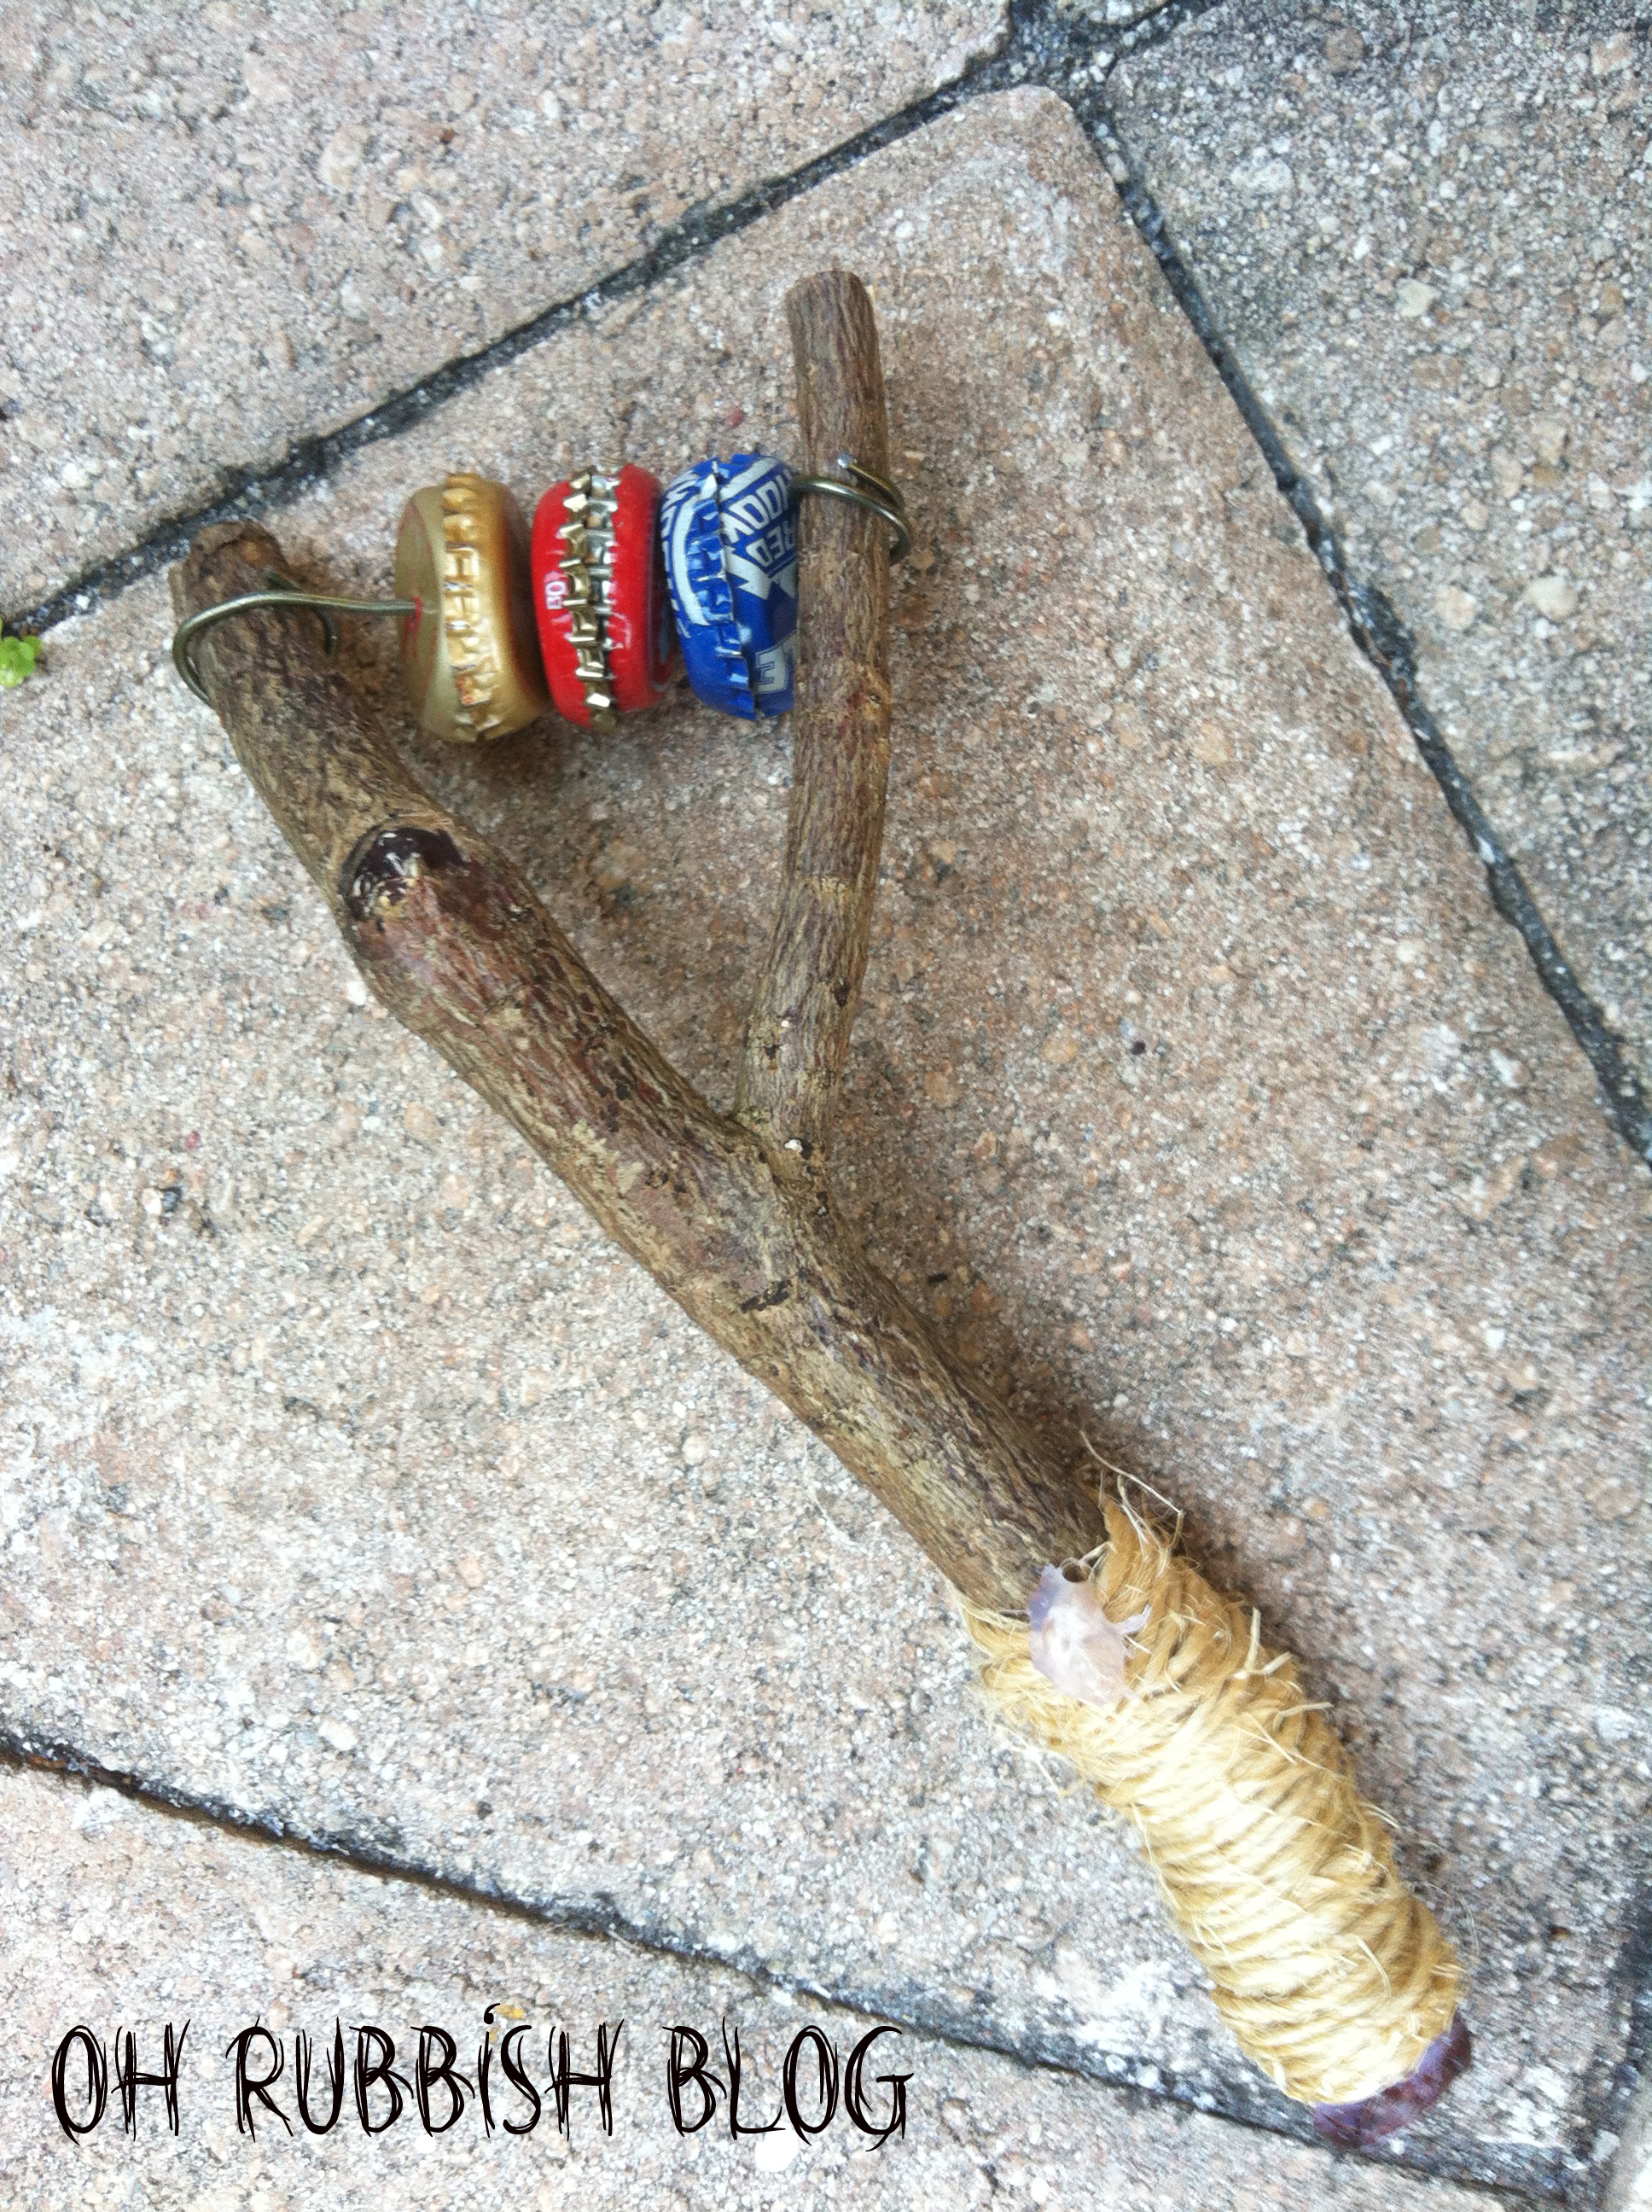
Slide in your bottle caps in pairs, facing each other. Then, using the pliers, wrap the end of the wire hanger around the other side of the Y-shaped branch (same as step 3), and cut off any excess wire hanger piece (if any).
(Optional) To add the handle details on the bottom of the tambourine stick, tie a knot of string and then wrap from the bottom up. When you have reached the height you want, simply cut and hot glue in place.
Waking up on your birthday just isn't the same without a true BIRTHDAY SURPRISE! Nothing…
Planning a virtual baby shower? Look no further, I've done all the work for you! This…
:: Christmas Breakfast Ideas :: Grinch Party :: Party City had a great selection of…
"Maybe Christmas, the Grinch thought doesn't come from a store. Maybe Christmas...perhaps...means a little bit…
This year....in addition to it being a Quarantine Edition of Halloween, it was expected (and…
Whether you're celebrating a 40th birthday or a 25th anniversary milestone...these Hershey's Hugs & Kisses…
View Comments
this came out soooooo cool!
not to be 'full of it', but we think so too! love when things come out better than you planned!